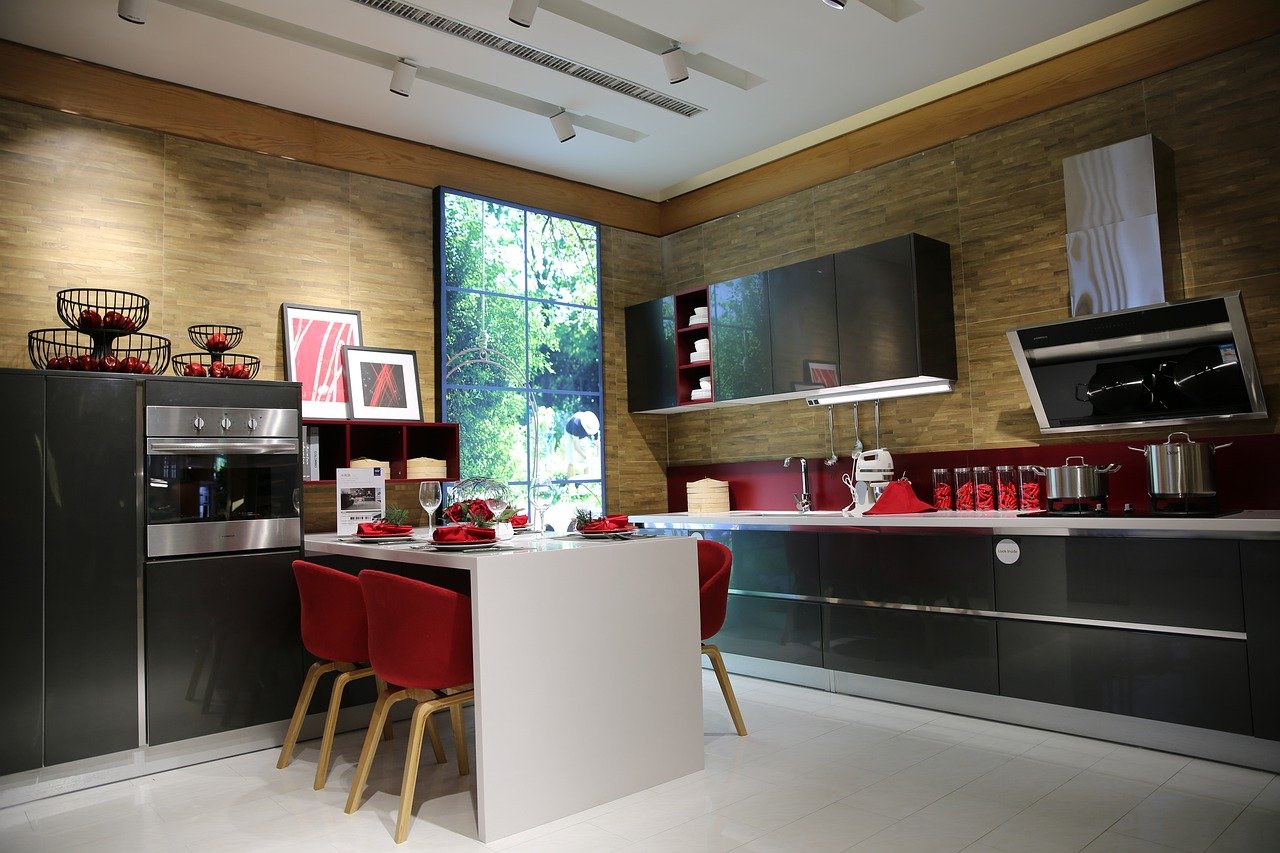
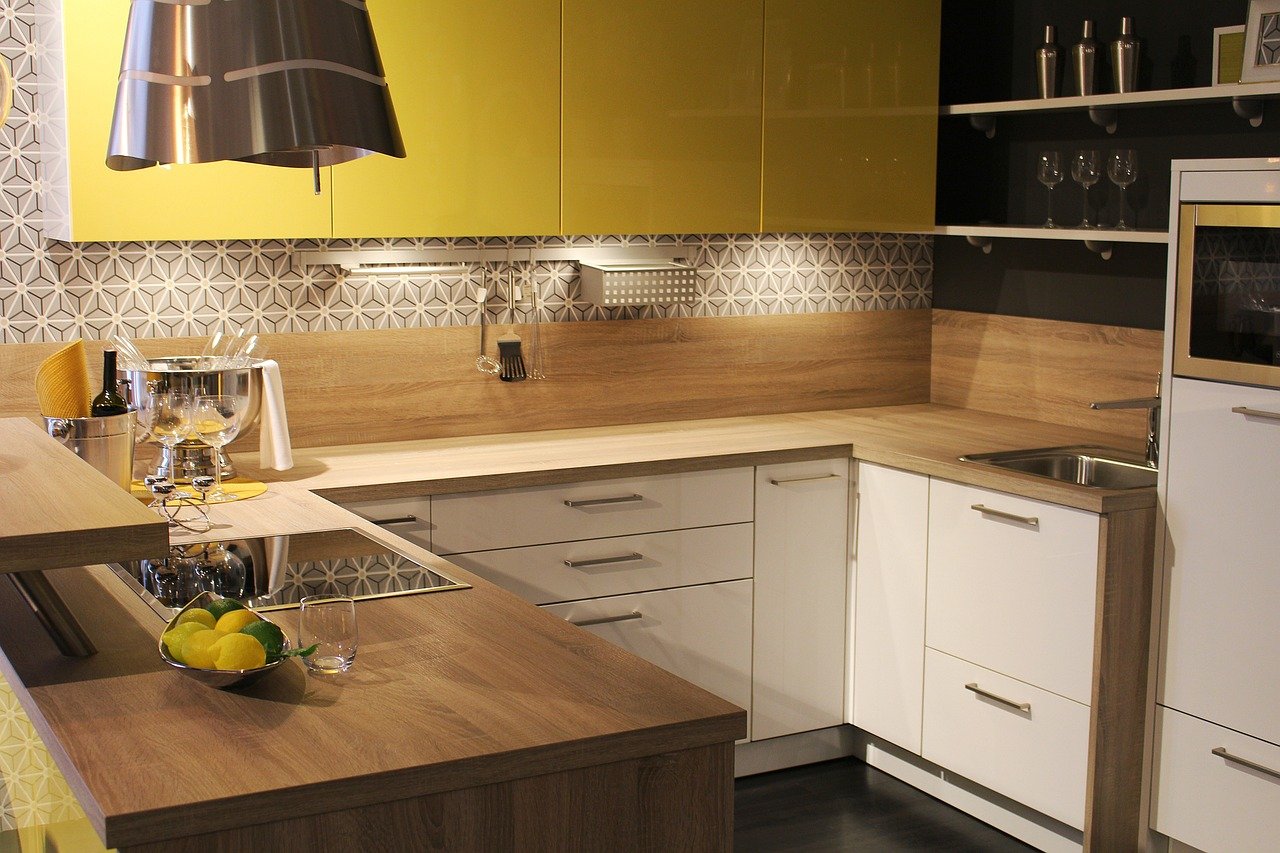
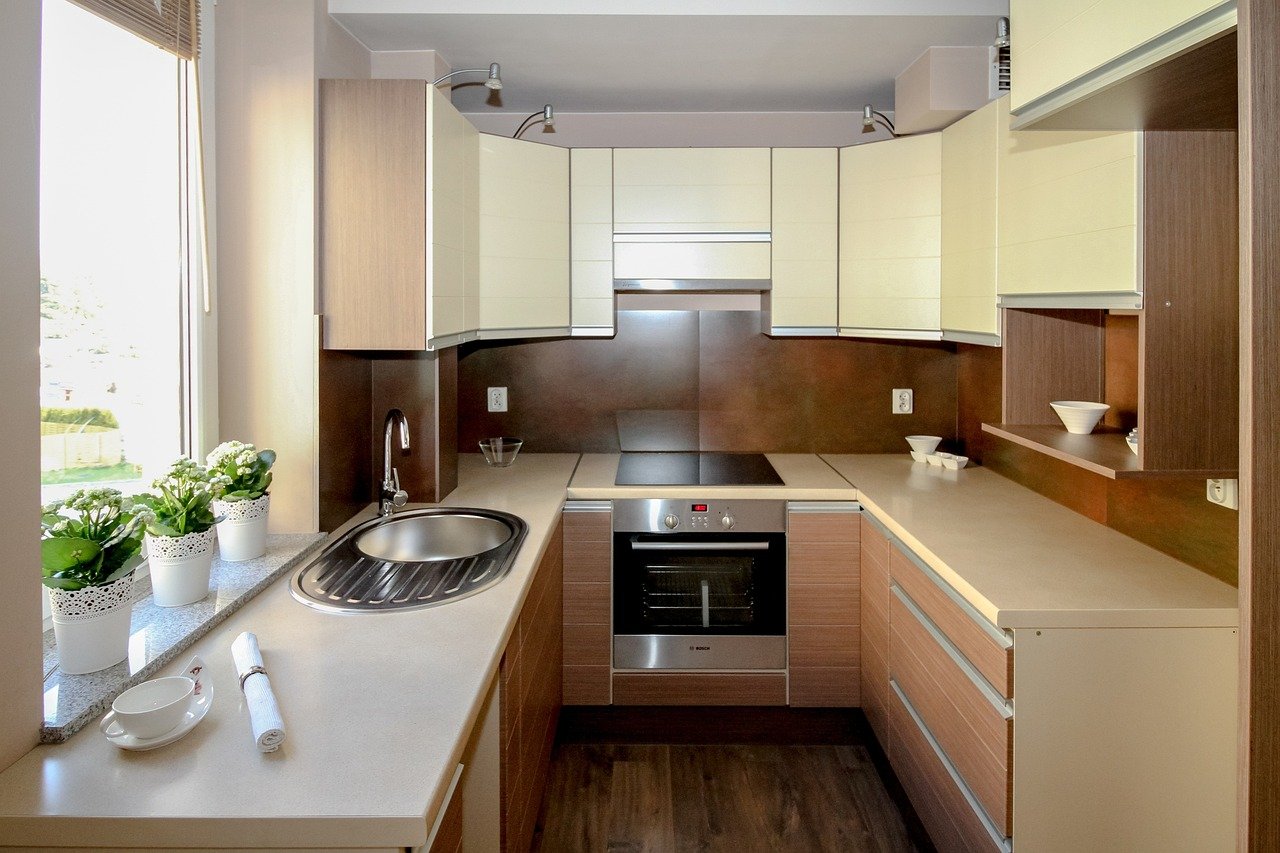
A kitchen backsplash serves a crucial role in the overall design and functionality of a kitchen space. Essentially, a backsplash is a protective surface installed on the wall behind the sink, stove, or countertop. It not only aids in safeguarding walls from spills, stains, and moisture but also offers an opportunity for visual enhancement, contributing significantly to the aesthetic appeal of the kitchen.
There is a myriad of materials available for kitchen backsplashes, each providing unique benefits and styles. Ceramic and porcelain tiles are popular choices due to their durability and ease of maintenance. These materials come in various shapes, sizes, and colors, allowing for a highly customizable design. Glass backsplashes are known for their sleek and modern appearance, reflecting light and creating an illusion of space. Stone options, such as granite or marble, bring natural beauty and elegance to the kitchen, though they often require more upkeep to maintain their pristine condition.
In addition to their decorative aspects, kitchen backsplashes contribute significantly to the functionality of the kitchen. By creating a barrier against moisture, they protect the walls from potential damage, extending the life of the kitchen fixtures. Backsplashes also facilitate easier cleaning, enabling homeowners to wipe away splatters and stains without hassle. Furthermore, they can act as a focal point in kitchen design, allowing homeowners to express their personal style and enhance the overall ambiance of the culinary space.
Overall, investing in a kitchen backsplash is not just an aesthetic consideration; it combines functionality, ease of maintenance, and a chance to make a lasting design statement.

Tools and Materials Needed for Installation
Installing a backsplash in your kitchen requires a variety of tools and materials to ensure a smooth and successful renovation. Proper preparation and selection of these items will contribute significantly to the overall quality and aesthetic appeal of the project. Here is a comprehensive list of essential tools and materials you will need:
First, the basic building block of your backsplash will be the tiles. When selecting tiles, consider factors such as material, color, and size to complement your kitchen’s design. Popular choices include ceramic, glass, and stone tiles; each offers unique properties and styles.
Next, adhesive is crucial for securing the tiles to the wall. Thin-set mortar is a common option, ideal for most tile applications. For peel-and-stick tiles, ensure the surface is clean and smooth for optimal adhesion.
A tile cutter is necessary for shaping tiles to fit around outlets and edges. Manual tile cutters are simple to use for straight cuts, while wet saws can handle tougher materials and intricate designs.
Grout is needed to fill the spaces between the tiles once they are in place, providing both aesthetic appeal and protection against moisture. When choosing grout, opt for a color that complements your tiles and consider stain-resistant options for easier maintenance.
A trowel will aid in spreading your adhesive or mortar evenly. A notched trowel is recommended as it creates the right amount of adhesive for tile installation. Additionally, using a level ensures your tiles are installed straight, which is essential for a professional finish.
Completing your toolkit should include a grout float, which helps apply and spread the grout into the joints efficiently. Finally, prioritize safety by utilizing goggles and gloves to protect yourself while working with sharp tools and chemicals.
Having the right tools and materials on hand before beginning your backsplash project will streamline the process and enhance the final result. Ensure you select high-quality items suitable for your specific installation needs.

Step-by-Step Backsplash Installation Process
Installing a kitchen backsplash can dramatically enhance the aesthetic appeal of this essential space. The process involves several meticulous steps, beginning with preparing the wall surface. Start by ensuring the wall is clean and free from any grease or dirt. This can typically be accomplished with a simple mixture of soap and water. After cleaning, inspect the surface for any imperfections. If the wall is uneven, use a level to identify high points and smooth them out with a suitable patching compound.
Once the wall is prepped, you can move on to applying the adhesive. Use a notched trowel to spread a thin layer of thin-set adhesive onto the wall, working in small sections to prevent it from drying out before you place the tiles. Begin placing the tiles in your desired pattern, starting from the center or a marked reference line to ensure symmetry. Ensure each tile is pressed firmly into the adhesive, and apply spacers between tiles to maintain consistent grout lines.
As you reach edges or corners, you may need to cut tiles to fit. Utilize a tile cutter or wet saw for clean cuts, and always wear protective eyewear during this step. Continue laying tiles until the surface is completely covered, then allow the adhesive to cure according to the manufacturer’s instructions, typically for 24 hours.
After the adhesive has set, it is time to apply grout. Remove spacers and mix the grout as per the instructions. Use a grout float to apply it into the spaces between the tiles, ensuring each gap is filled completely. Wipe away excess grout with a damp sponge before it hardens, and allow it to cure as well, which usually takes another 24 hours. Finally, clean the tiles with a soft cloth and apply a grout sealer to increase durability and prevent moisture infiltration, concluding your backsplash installation process effectively.

Finishing Touches and Maintenance Tips
After successfully installing your kitchen backsplash, the finishing touches play a crucial role in achieving a polished appearance. One of the most important steps is to apply caulk along the edges where the backsplash meets the countertop and the walls. Use a high-quality, paintable silicone caulk that is resistant to moisture. This not only enhances the aesthetics of your installation but also prevents water from seeping behind the tiles, which could lead to mold growth and damage over time. Make sure to use a caulking gun for a smooth application, and consider tooling the caulk with your finger or a tool specifically designed to create a clean finish.
Once the caulking is complete, focus on cleaning your tiles. Depending on the material, different cleaning methods may be necessary. For ceramic or glass tiles, a simple solution of warm water and mild dish soap is often sufficient. Use a non-abrasive sponge to avoid scratches. If your backsplash is made of more delicate materials like natural stone, a pH-balanced stone cleaner is advisable to maintain its integrity. Always avoid cleaning products that contain acidic or abrasive elements, as these could damage the surface.
Maintaining the backsplash involves regular cleaning to prevent the buildup of grease and grime, particularly in a kitchen environment. For tougher stains, consider using a paste of baking soda and water that can be applied directly to the stained area and gently scrubbed. Promptly handle any spills or splatters to avoid long-term stains. Additionally, inspect the caulk regularly for any signs of wear or damage, and replace it as needed to ensure continued protection against moisture. By following these maintenance tips, homeowners can ensure their kitchen backsplash remains attractive and intact for years to come.